So, your outdoor furniture has seen better days, huh?
Maybe it’s been out in the sun too long, or perhaps it’s just a little worse for wear after a season of BBQs and pool parties.
No worries—I’m here to walk you through how to sand and paint outdoor furniture like a pro.
Whether it’s wood, metal, or plastic, you’ll have it looking brand new in no time. Trust me—if I can do it, so can you.
Why Sand and Paint Outdoor Furniture?
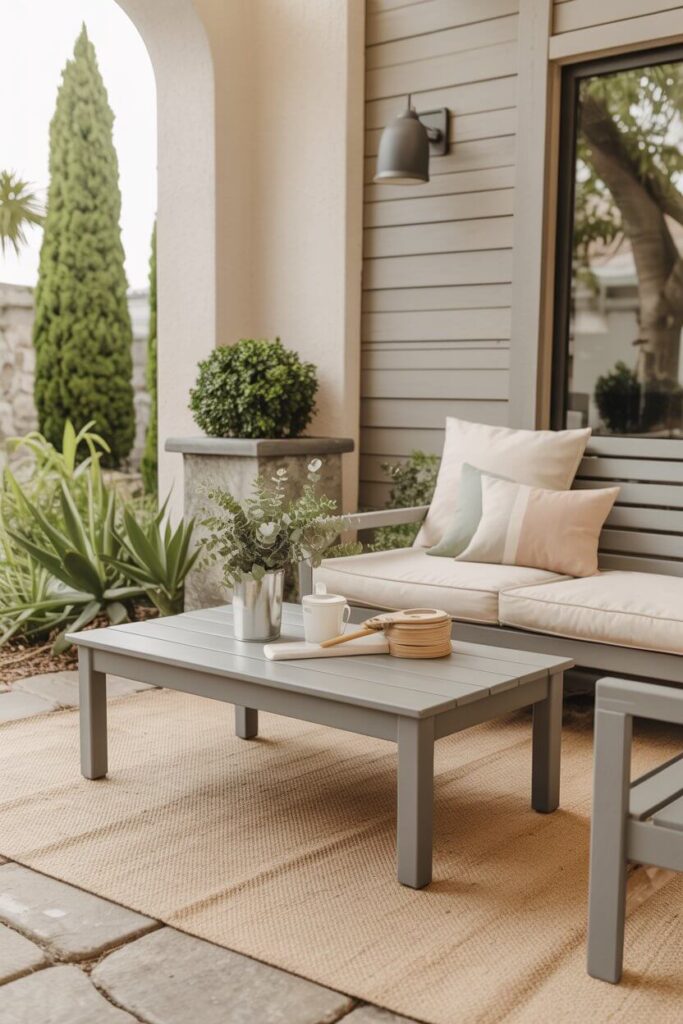
Okay, first things first. Why bother sanding and painting your outdoor furniture?
Well, besides making it look all spiffy again, sanding and painting do some serious work in protecting your furniture from the elements.
Rain, UV rays, wind, dirt—you name it, outdoor furniture gets it all.
A fresh coat of paint not only brings back that shiny, new look, but it also adds a protective layer that helps to prevent rust, rot, and general wear-and-tear. Pretty neat, right?
So, if you’ve got a weekend to spare and want to give your furniture the facelift it deserves, let’s dive into the step-by-step process. It’s not rocket science—just a little elbow grease.
Step 1: Get Your Gear Together
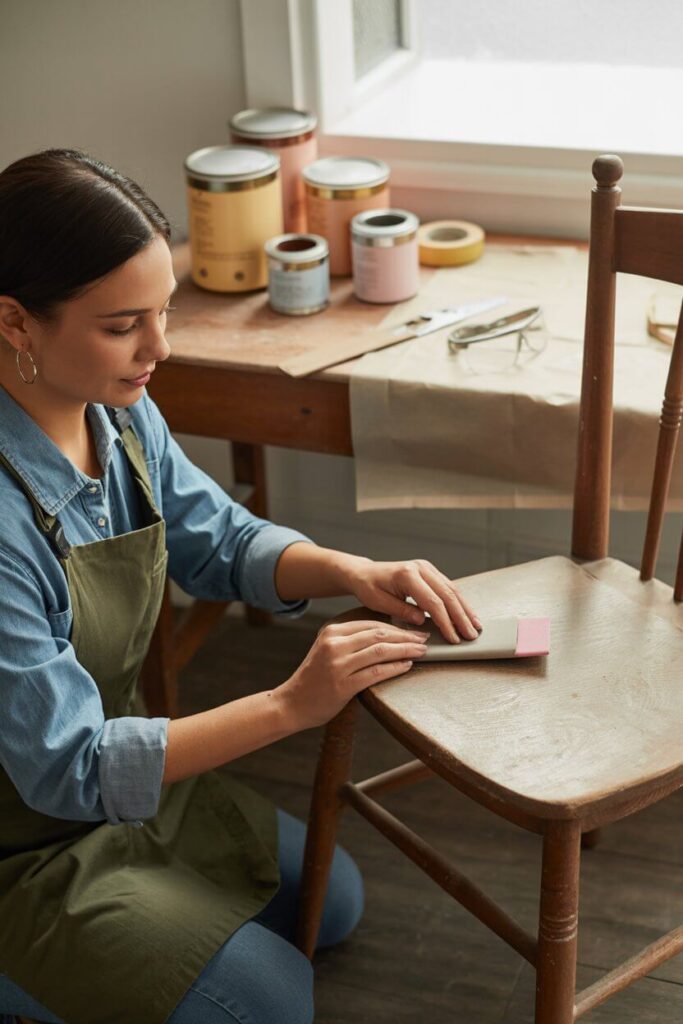
Before you get started, gather your supplies. Trust me, you’ll want to have everything on hand so you don’t have to run to the store halfway through.
Here’s a quick list of what you’ll need:
- Sandpaper (medium and fine-grit)
- Paint (exterior, weather-resistant)
- Paintbrushes or rollers (depending on your preference)
- Drop cloths or old newspapers (for the mess)
- Safety gear (dust mask, goggles, gloves)
- Painter’s tape (if you want sharp lines)
- Wood filler or primer (for any damage or bare spots)
- A small scraper (to remove peeling paint, if needed)
I know, it sounds like a lot, but it’s really just the basics. Think of it like prepping for a paint party—but less “party,” more “let’s make this furniture shine.”
Step 2: Sanding Your Furniture
Sanding is the most important part of this whole process. It’s like the foundation of a great paint job—if you don’t do it properly, the paint won’t stick.
Here’s how to do it right:
2.1 Clean Your Furniture
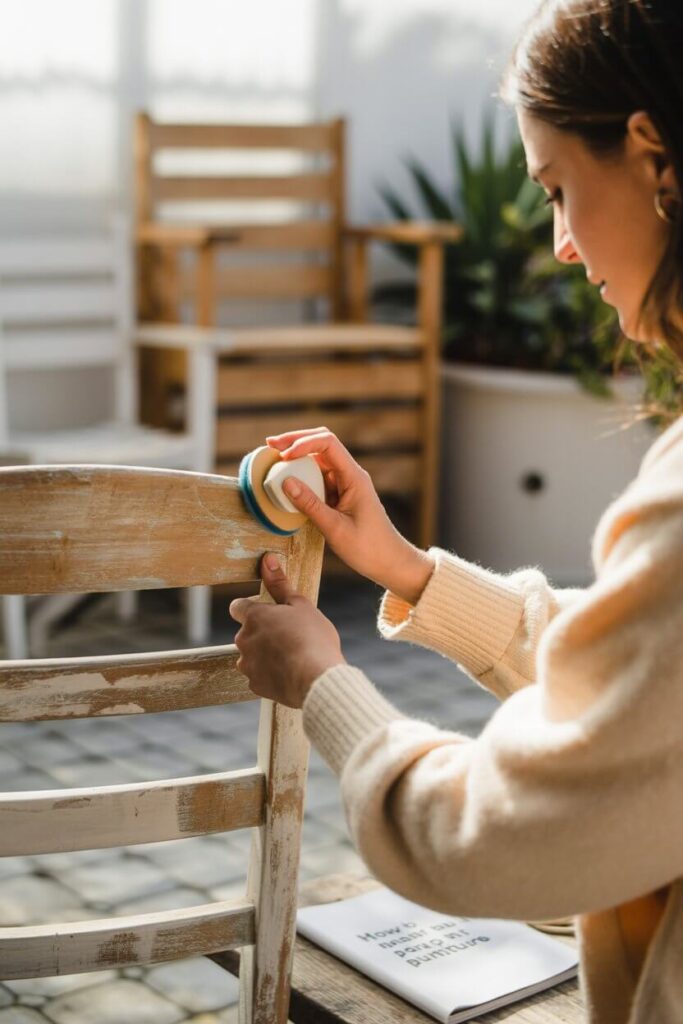
Start by cleaning your furniture. I mean, really clean it.
Dust, dirt, and grime will make it harder for the paint to adhere. Use a mild soap solution and a rag, then dry it thoroughly.
If you skip this step, you’ll be looking at paint peeling in a few weeks. Trust me, no one wants that.
2.2 Sand the Surface
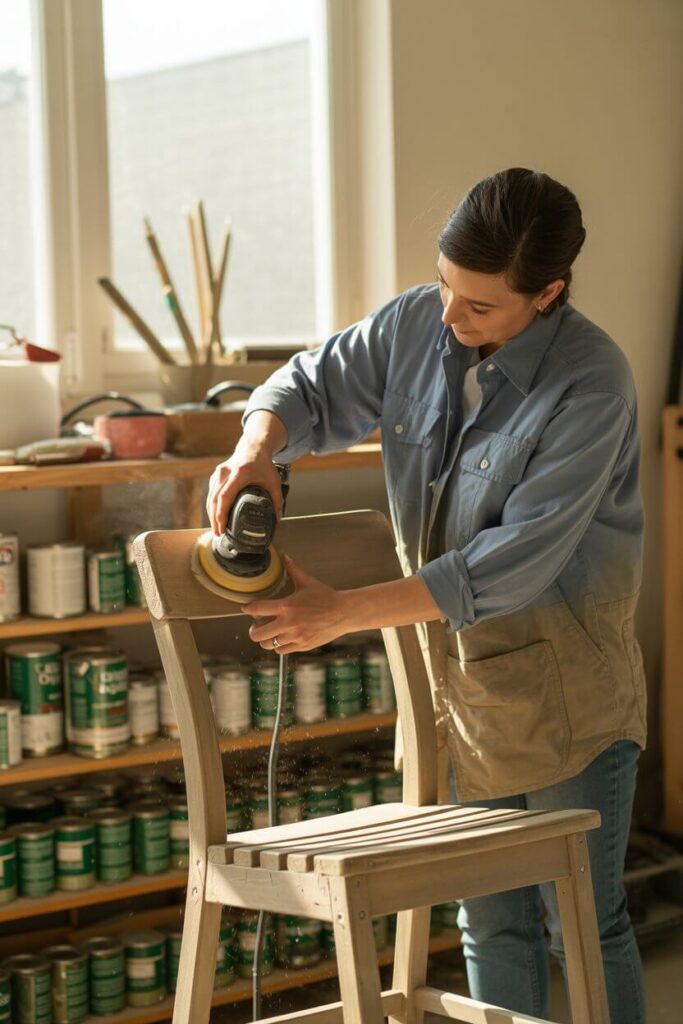
Grab your medium-grit sandpaper (around 80-grit) and start sanding down the surface.
Sand in a circular motion, and don’t be afraid to get into the nooks and crannies. You’ll want to smooth out any rough patches or peeling paint.
Think of it as giving your furniture a mini facial scrub.
- Wood Furniture: If it’s wood, you want to be gentle, but thorough. Sand down any rough patches or areas with peeling paint.
- Metal Furniture: If it’s metal, use a coarse-grit paper to remove any rust. The key here is to get a smooth, even surface for the paint to cling to.
- Plastic Furniture: For plastic, just a light sanding with fine-grit paper will do the trick. No need to go too hardcore.
2.3 Smooth it Out
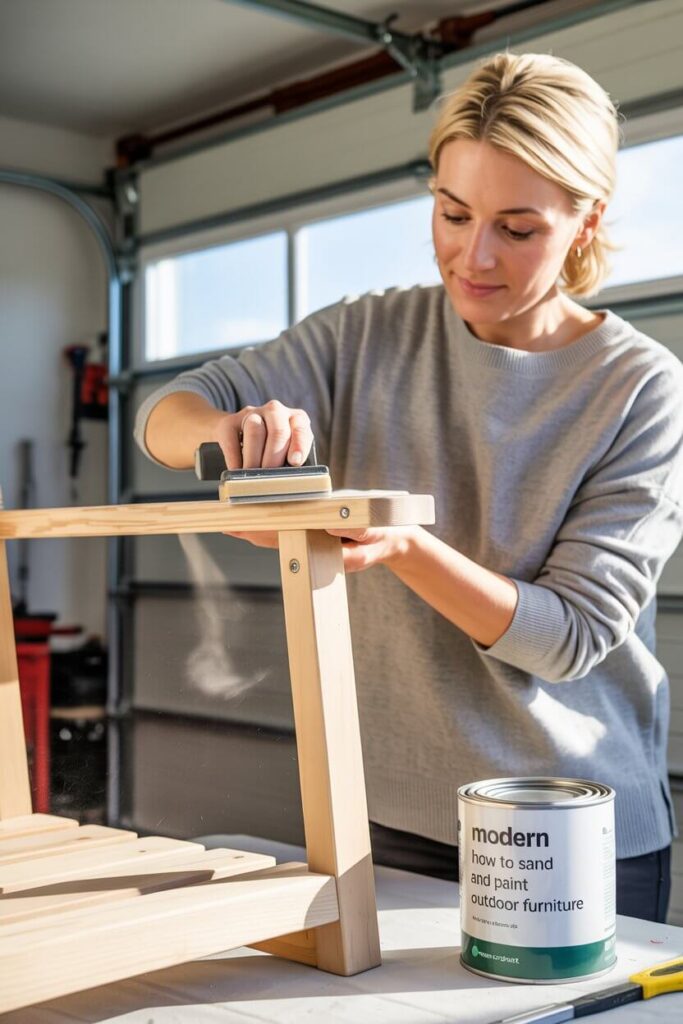
Once you’ve done the initial sanding, switch to a finer grit (around 150 or 200-grit) to smooth everything out.
Your furniture should feel smooth to the touch, like a freshly buffed manicure. And no, I don’t mean the “three days old” kind. 😉
Step 3: Prep for Painting
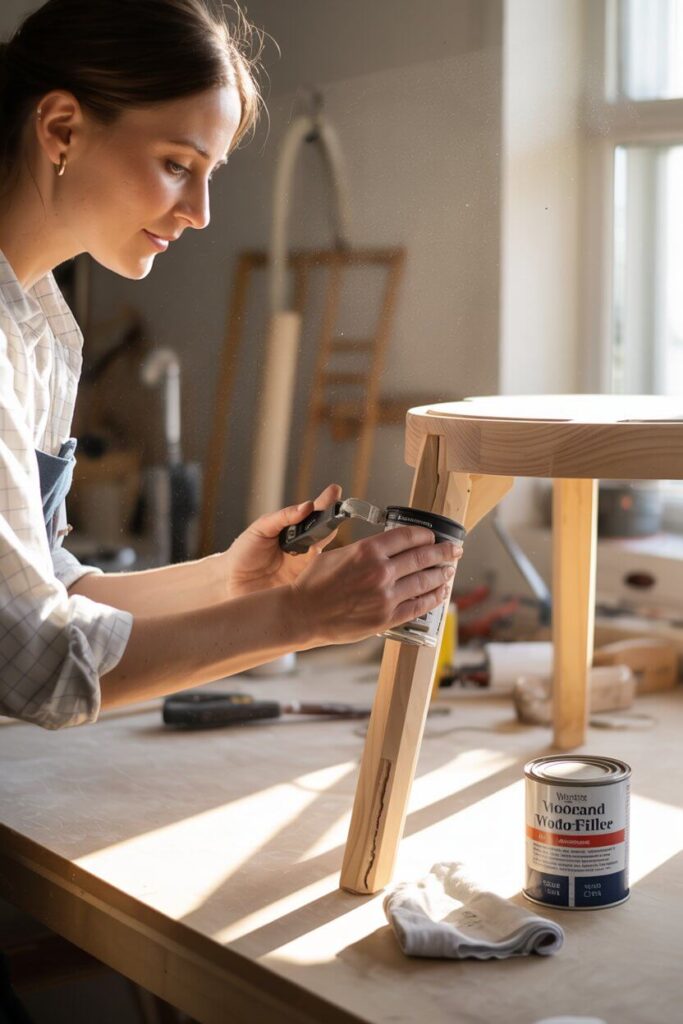
Now that your furniture is sanded and looking fresh, it’s time to prep for the paint. Here’s how you do it:
3.1 Repair Any Damage
Got any cracks, dents, or holes in your furniture? No problem. Grab some wood filler for wooden furniture, or a metal repair kit for metal pieces.
Fill in those imperfections and let them dry completely before sanding them smooth.
3.2 Clean It Again
Yes, you have to clean it again. I know, I know—you’re probably thinking, “Really?” But trust me, you don’t want dust and debris mixing with your paint.
Just give it a wipe-down with a clean rag to make sure it’s free of any leftover sanding residue.
Step 4: Get Painting
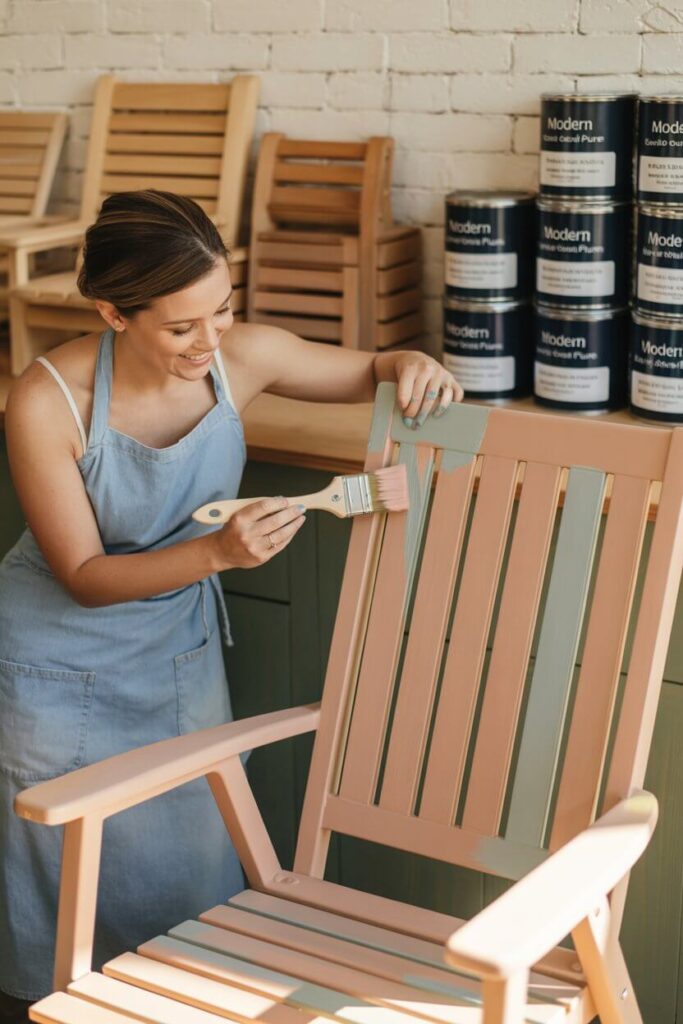
Time to put the fun part into action! Here’s how to do it without making a mess:
4.1 Choose the Right Paint
FYI, outdoor furniture needs special paint. Look for something that’s specifically designed for exterior use—something durable that can withstand the elements.
For wood furniture, I’d recommend an enamel-based paint. For metal, a rust-resistant spray paint is your friend.
Plastic furniture? Grab a spray paint that’s made specifically for plastic surfaces.
4.2 Prime It (If Needed)
If you’re working with raw wood or metal, a primer can make a huge difference in the final result. Priming helps the paint stick better and gives it an even finish.
It also acts like a barrier, protecting your furniture from moisture and UV damage.
If you’re painting over an old color, skip the primer, but always check the instructions on your paint for guidance.
4.3 Start Painting
Now, grab your brush or roller and get to work! It’s best to apply thin, even coats. Start from the top and work your way down to avoid drips and runs.
Let the first coat dry completely before adding another. If you’re in a rush (aren’t we all?), try to avoid “cutting corners”—it will be worth the extra time in the long run.
Here’s a little pro tip: Use long, smooth strokes to avoid leaving brush marks. And no, you don’t have to be Picasso here—just do your best.
Step 5: Let It Dry and Cure
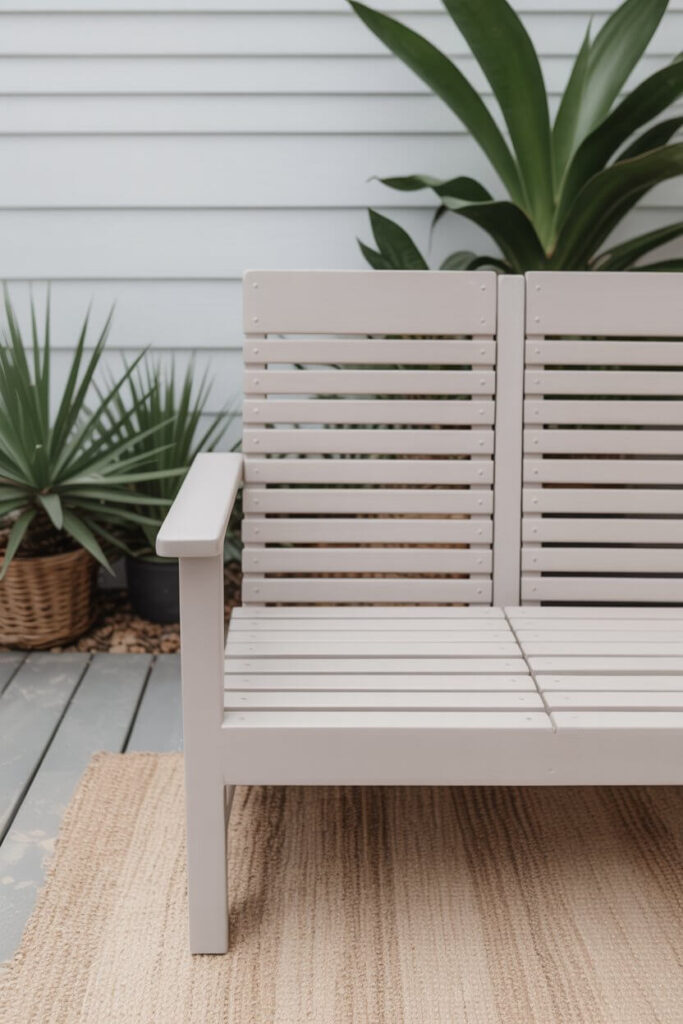
This step is the most crucial (and also the hardest to wait for). Once your last coat of paint is on, let it dry completely.
If you’re feeling impatient, I get it—I’ve been there. But trust me, don’t rush this part. You want your furniture to cure properly to avoid any smudges or fingerprints.
Let it sit for 24-48 hours, depending on the paint manufacturer’s recommendation. This will give your furniture time to harden and fully set.
Step 6: The Final Touches
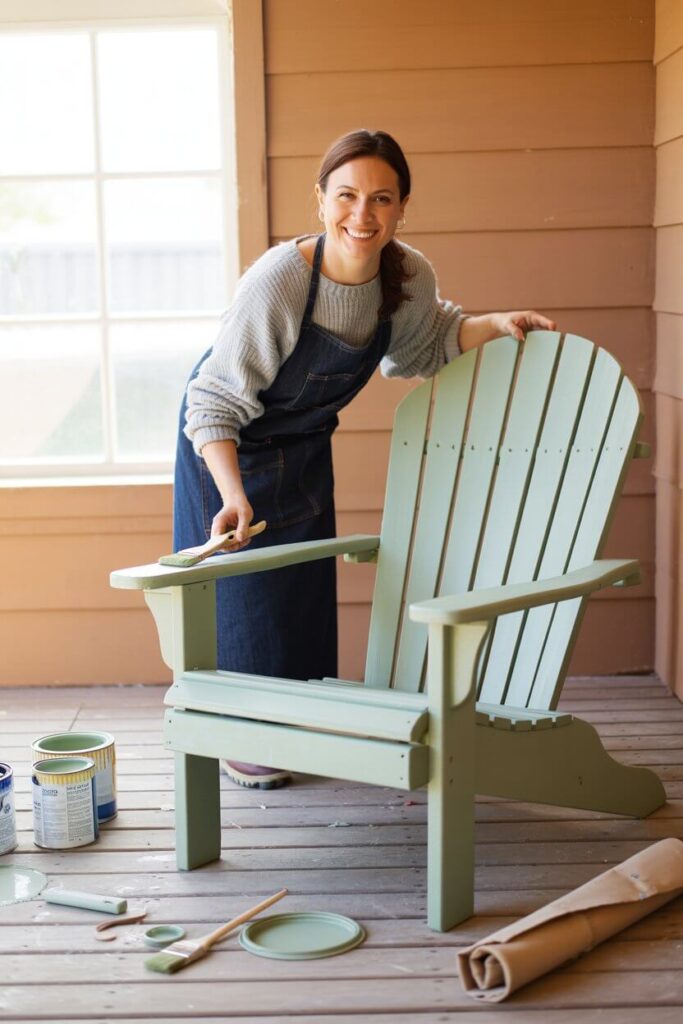
Once everything is dry, take a step back and admire your work.
Pretty impressive, right? But before you kick back and sip a cold drink, there are a couple of things to wrap up:
6.1 Remove Painter’s Tape
If you used painter’s tape to protect areas like cushions or legs, now’s the time to carefully peel it off.
Do it slowly to avoid peeling any paint with it. And yes, this is where you definitely get to feel like a DIY superstar.
6.2 Clean Up
I know, cleaning up is the last thing you want to do, but it’s gotta be done.
Throw away your drop cloths, clean your brushes, and make sure any leftover paint is stored properly for future touch-ups.
Wrapping It Up: You Did It!
And there you have it—a simple, no-fuss guide to sanding and painting your outdoor furniture like a pro.
Not too bad, right? It’s amazing what a little sanding, paint, and patience can do for your furniture.
So, the next time someone asks you if you’re going to replace your old outdoor furniture, you can confidently say, “Nah, I’m just going to give it a little TLC.”
You’ll be the one sitting pretty while your furniture looks like it just came out of a design catalog.
Happy painting, and don’t forget to enjoy the fruits of your labor! 😎